
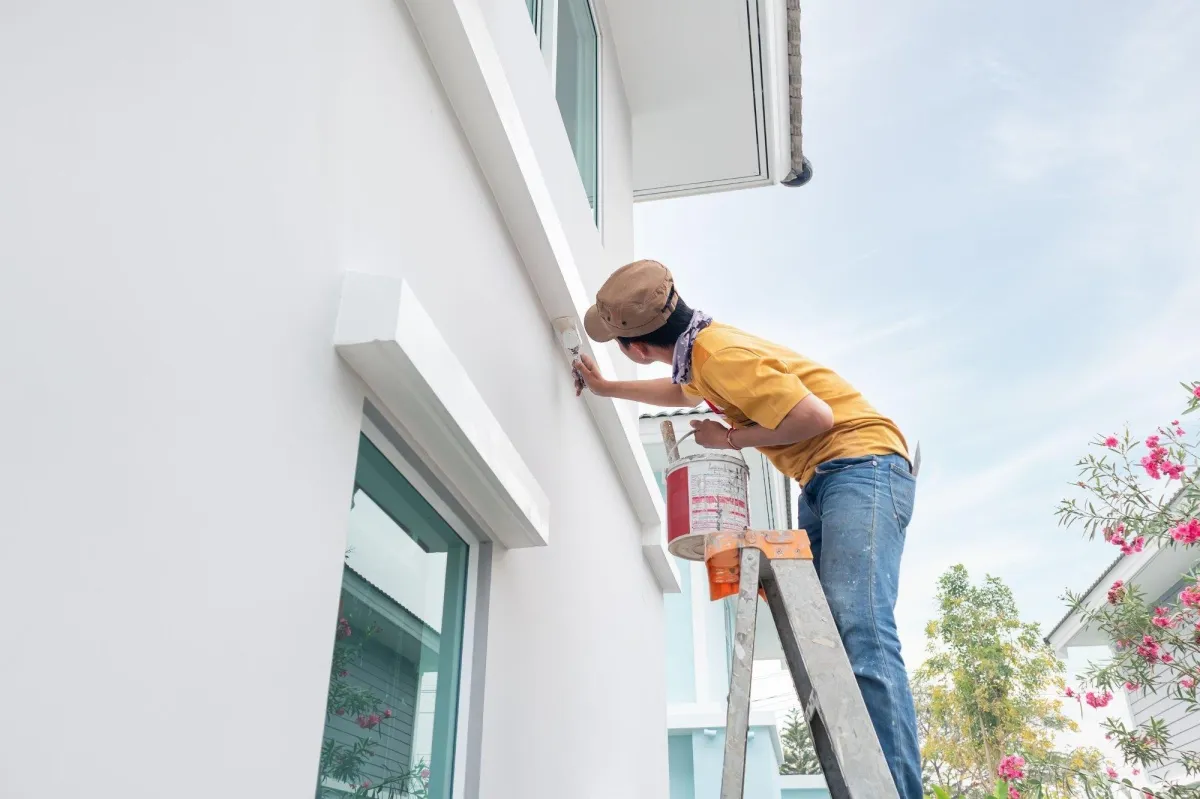
Preparing Walls for Painting in Beacon Hill, VA & Surrounding Areas
Preparing walls for painting in Beacon Hill, VA and surrounding areas is one of the most important steps for achieving a smooth, clean, and long-lasting finish. Many homeowners focus on paint color first, but wall preparation is what truly determines how professional the final result will look. Proper prep removes dust, oils, stains, and surface flaws that can cause peeling, bubbling, or uneven coverage. Homes in Beacon Hill often have different wall conditions depending on age, humidity exposure, and daily wear from busy households. A well-prepared wall allows paint to bond correctly, improves durability, and helps reduce the need for frequent touch-ups. Preparation also creates a consistent surface so the color looks even from corner to corner. Whether you are repainting one room or the entire home, wall prep helps the paint job look cleaner and last longer. Investing time in preparation ensures better results, fewer issues, and a more polished interior appearance.
Why is wall preparation considered the foundation of a quality paint job?
Wall preparation ensures paint adheres properly and does not peel or flake over time. It removes surface contaminants that can block paint from bonding evenly. A smooth wall also improves how the final color appears under lighting. Interior Painting Services always begin with prep to ensure professional results.
How should walls be cleaned before painting begins?
Walls should be wiped down to remove dust, grease, and fingerprints that affect paint adhesion. Kitchens and high-touch areas may require stronger cleaning methods. Clean surfaces help paint spread evenly and dry correctly. Proper cleaning reduces streaks and patchy results.
What types of wall damage should be repaired before painting?
Small nail holes, dents, and cracks should be filled and sanded to create a uniform surface. Larger damage may require patching and additional smoothing. Repairs prevent flaws from showing through fresh paint. Fixing imperfections early improves the finished appearance.
When is sanding necessary during wall preparation?
Sanding is needed when walls feel rough, glossy, or uneven from old paint layers. It helps remove shine and creates a surface that new paint can grip. Sanding also blends patched areas into the surrounding wall. Smooth prep leads to a cleaner finish.
Why does primer matter when preparing walls for painting?
Primer improves paint adhesion and helps cover stains, repairs, and color differences. It creates a consistent base so the topcoat looks even. Primer is especially helpful when switching from dark to light colors. Interior Painting Services often include primer for long-lasting results.
How can stains and water marks be handled before painting?
Stains must be sealed properly or they may bleed through the new paint. Water marks can indicate underlying moisture issues that should be fixed first. Using stain-blocking primer prevents discoloration. Proper treatment protects the final paint finish.
What role does surface protection play during wall preparation?
Protecting floors, trim, and furniture prevents paint splatter and dust buildup. Drop cloths and tape keep the workspace clean and organized. This step also speeds up cleanup after the project. Junk Removal can help clear the area so preparation is faster and safer.
How does moisture control affect wall prep and paint durability?
Moisture can cause paint to bubble, peel, or develop mold over time. Controlling humidity and fixing leaks protects the wall surface before painting. Clean gutters reduce water-related issues around the home. Gutter Cleaning can support better interior wall conditions by preventing moisture intrusion.
Can wall preparation improve the look of wood trim and accent areas?
Yes, sanding and cleaning trim improves how paint or stain applies to wood surfaces. Proper prep highlights detail and prevents uneven texture. Accent features often require extra care for a polished look. Multi-Surface Staining also benefits from strong preparation for consistent results.
Why should wall preparation be planned around seasonal home maintenance?
Seasonal changes can affect indoor humidity and dust levels, which impacts paint performance. Planning prep during stable conditions helps paint cure properly. Winter conditions can track moisture and dirt indoors. Snow Removal supports cleaner entryways and reduces wall grime during cold seasons.
Final Thought
Preparing walls for painting in Beacon Hill, VA is the key to achieving smooth coverage, strong adhesion, and long-lasting beauty. Cleaning, repairing, sanding, and priming create the perfect foundation for a professional-quality finish. Proper preparation also prevents common paint issues like peeling, patchiness, and stain bleed-through. With the right prep steps and consistent care, homeowners can enjoy a cleaner, brighter interior that looks great for years.
Do I really need to wash walls before painting?
Yes, washing removes dust and oils that can prevent paint from sticking. Clean walls create smoother and more even coverage.
How long should patched areas dry before painting?
Most patches should dry completely, usually within a few hours or overnight. Dry time depends on the patch material and thickness.
Is sanding always required before painting?
Not always, but sanding helps when surfaces are glossy or uneven. It improves adhesion and smoothness.
Should I prime the entire wall or only repaired areas?
Priming repaired areas is important, but full-wall priming may be needed for major color changes. Primer improves uniform results.
What happens if I skip wall preparation?
Skipping prep can lead to peeling, uneven color, and visible flaws. Proper preparation prevents costly repainting later.